JetBrains created the cross-platform editor PyCharm. You have access to all the tools you need with Pycharm to develop Python effectively.
The precise procedures for installing Python and PyCharm are listed here.
How to Install Python IDE
A step-by-step guide for installing Python on Windows can be found below:
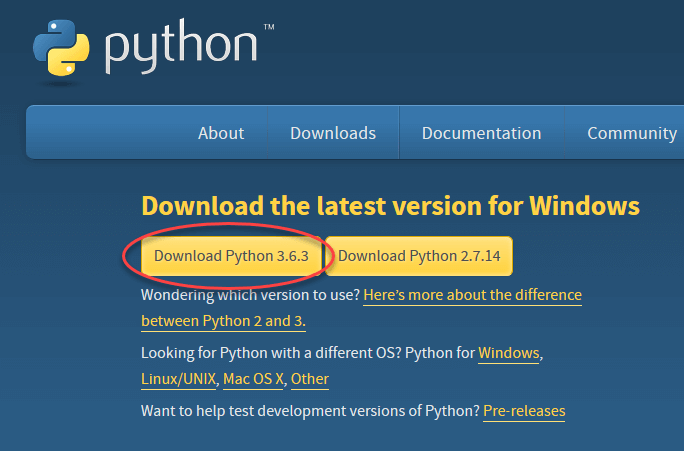
Step 1: Visit the Python website (https://www.python.org/downloads/) and select your version of Python before downloading and installing it. Version 3.6.3 of Python has been selected.
Step 2: Launch the.exe file to install Python after the download is complete. Click Install Now to continue.

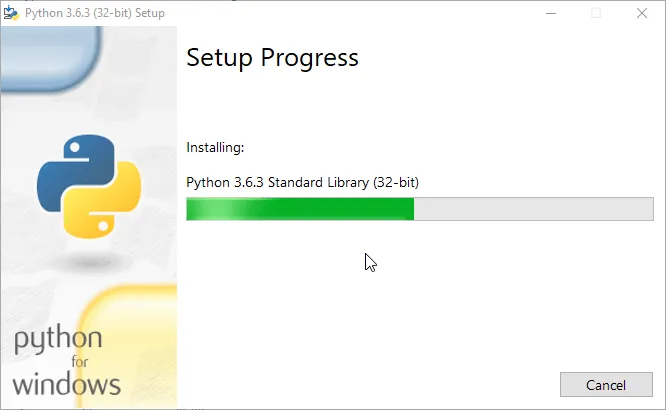
Step 3: Python is now in the process of installing.
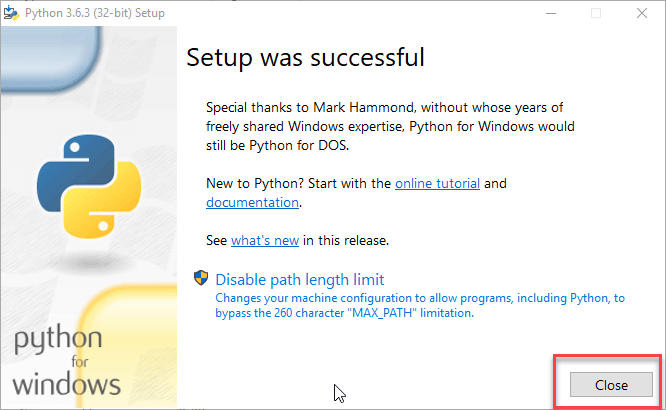
Step 4) After it's finished, a screen stating that the Setup was successful will appear. Click "Close" now.
How to Install Pycharm
Here is a step-by-step tutorial for installing the Pycharm IDE on Windows:
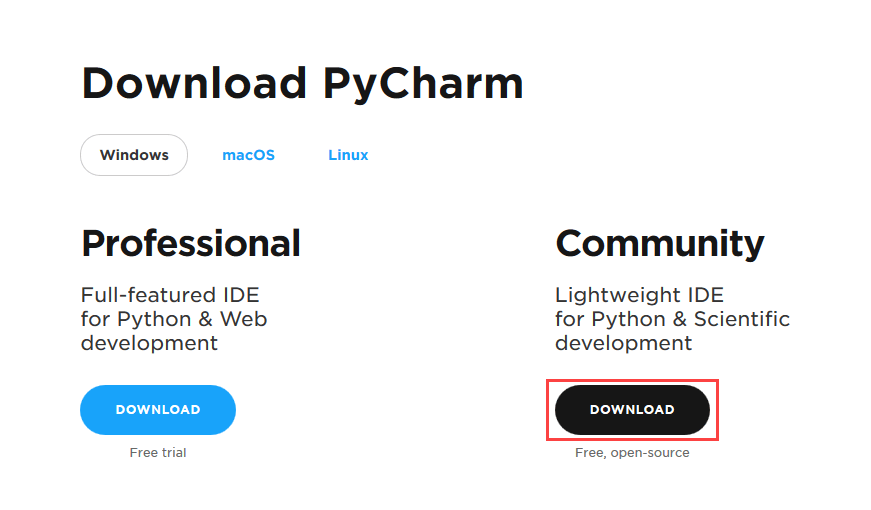
Step 1: Go to https://www.jetbrains.com/pycharm/download/ and click the "DOWNLOAD" link in the Community Section to download PyCharm.
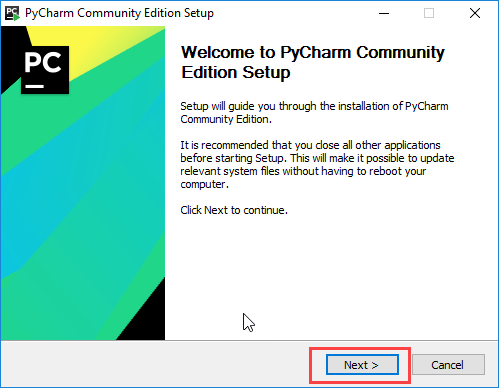
Step 2: Launch the installer for PyCharm after the download is finished. The setup wizard ought to have begun. Select "Next."
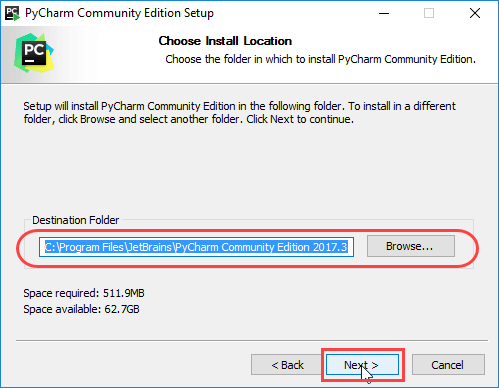
Step 3: Modify the installation path as necessary on the following screen. Select "Next."
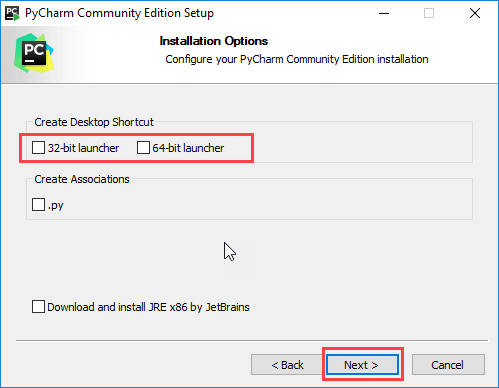
Step 4: Select "Next" on the following box, where you can choose to create a desktop shortcut.
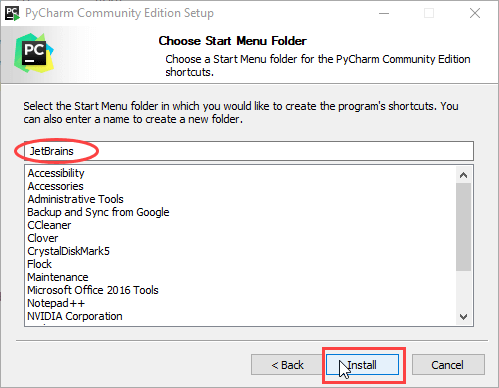
Step 5: Choose the start menu folder. Keep selected JetBrains and click on “Install”.
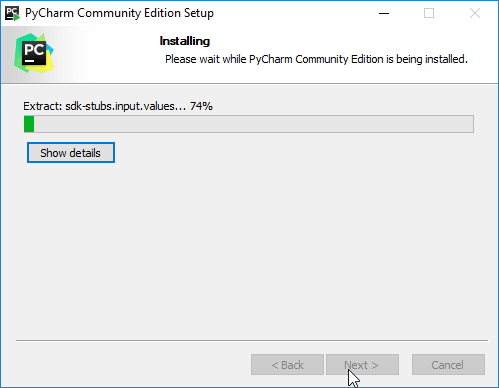
Step 6: Hold off till the installation is complete.
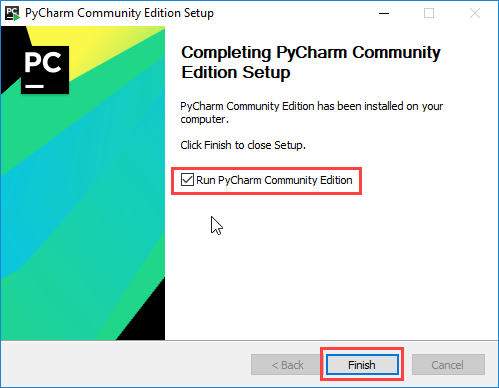
Step 7: When the installation is complete, a notification indicating that PyCharm has been installed should appear. Click the "Run PyCharm Community Edition" box first, then click "Finish," if you wish to proceed with running it.
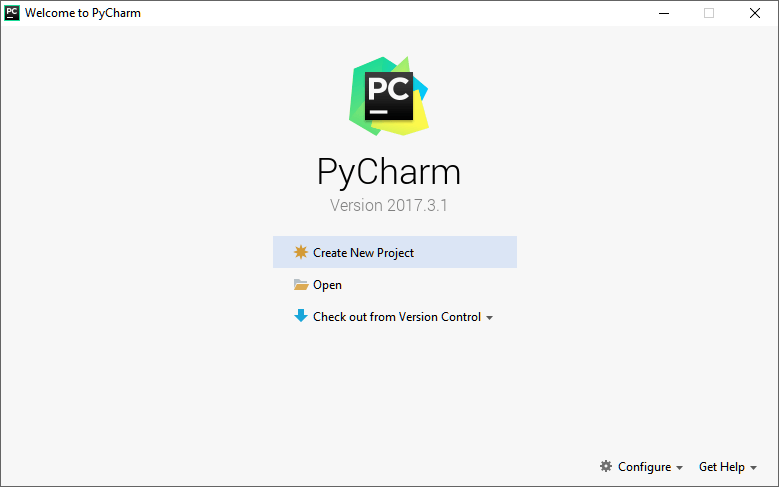
Step 8: The following screen will appear once you click "Finish."